A Basic Guide to Warding in Dota 2
In Dota 2 wards are the most important aspect of the game. They provide visibility to your team and valuable information to help you track your opponents’ movements on the map wherever you send them. You can also see invisible units using the guards. Especially when some enemy heroes were sent on the trail. You can rely on yourself or defend yourself in a trailer game.
The information that the totems send to your team will allow you to plan further actions depending on what the enemy team does on the map. If used correctly, this information can be a huge advantage.
Certainly, there are many other ways to use the Wards, about which you’ll find out in this tutorial.
Dota 2: What are wards?
Wards are a consumable item that can be placed anywhere on the map. There are several types of wards (yellow) and sentry (blue), each giving visibility to an area within a certain radius.
Types of wards in Dota 2
Observer Wards
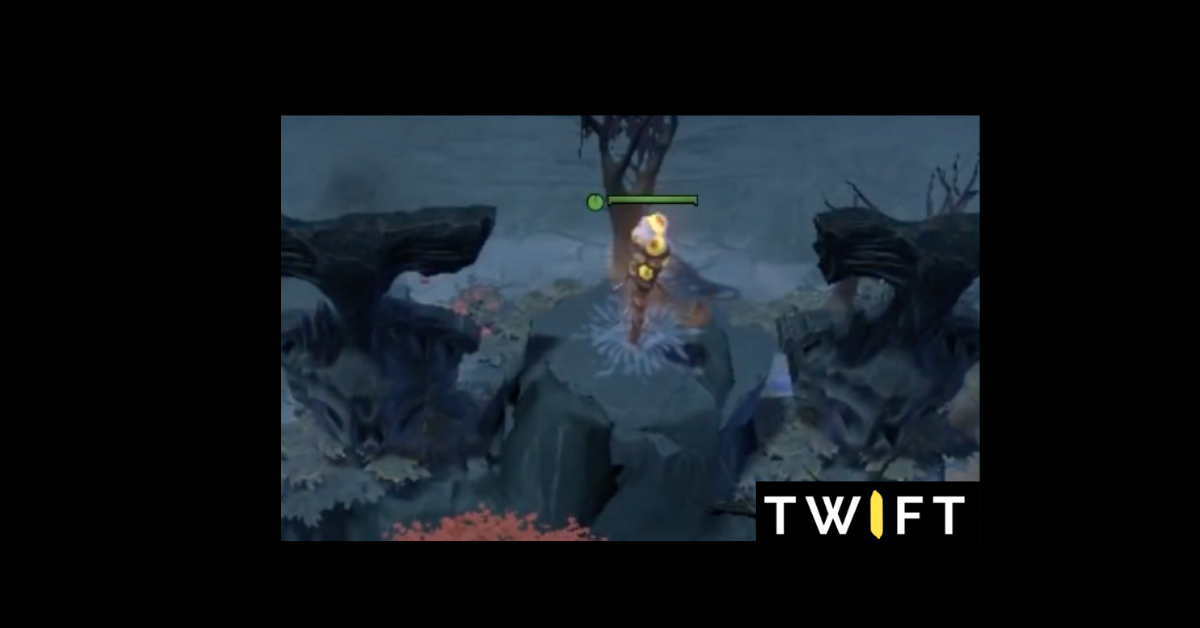
Observer Wards are wards that are given visibility within a radius of 1600 around them and live for 6.30 minutes (previously there were 7). Such a ward costs 65 gold (formerly 75 gold) and from the moment of the game you can buy two of them, and the subsequent ones begin to appear once in a couple of minutes. To pass one ward to an ally, you will need to do it through CTRL+LKM (left mouse button).
Sentry Ward
Sentry Ward is the second type of ward, it has a smaller radius, namely 850, but gives an overview of invisible heroes or other wards. Thanks to this type of ward, you can destroy someone else’s observational or sentry wards, as well as patch someone up with an invasion. Previously, such wards were sold in a tutu ‒ two pieces for 200 bucks, but recently they began to sell one for 100, which made the game much better and more effective at the start because you do not always need 2 wards for such money. You can pass one ward to your ally in the same way as above.
First night. The most important part in the game of wards
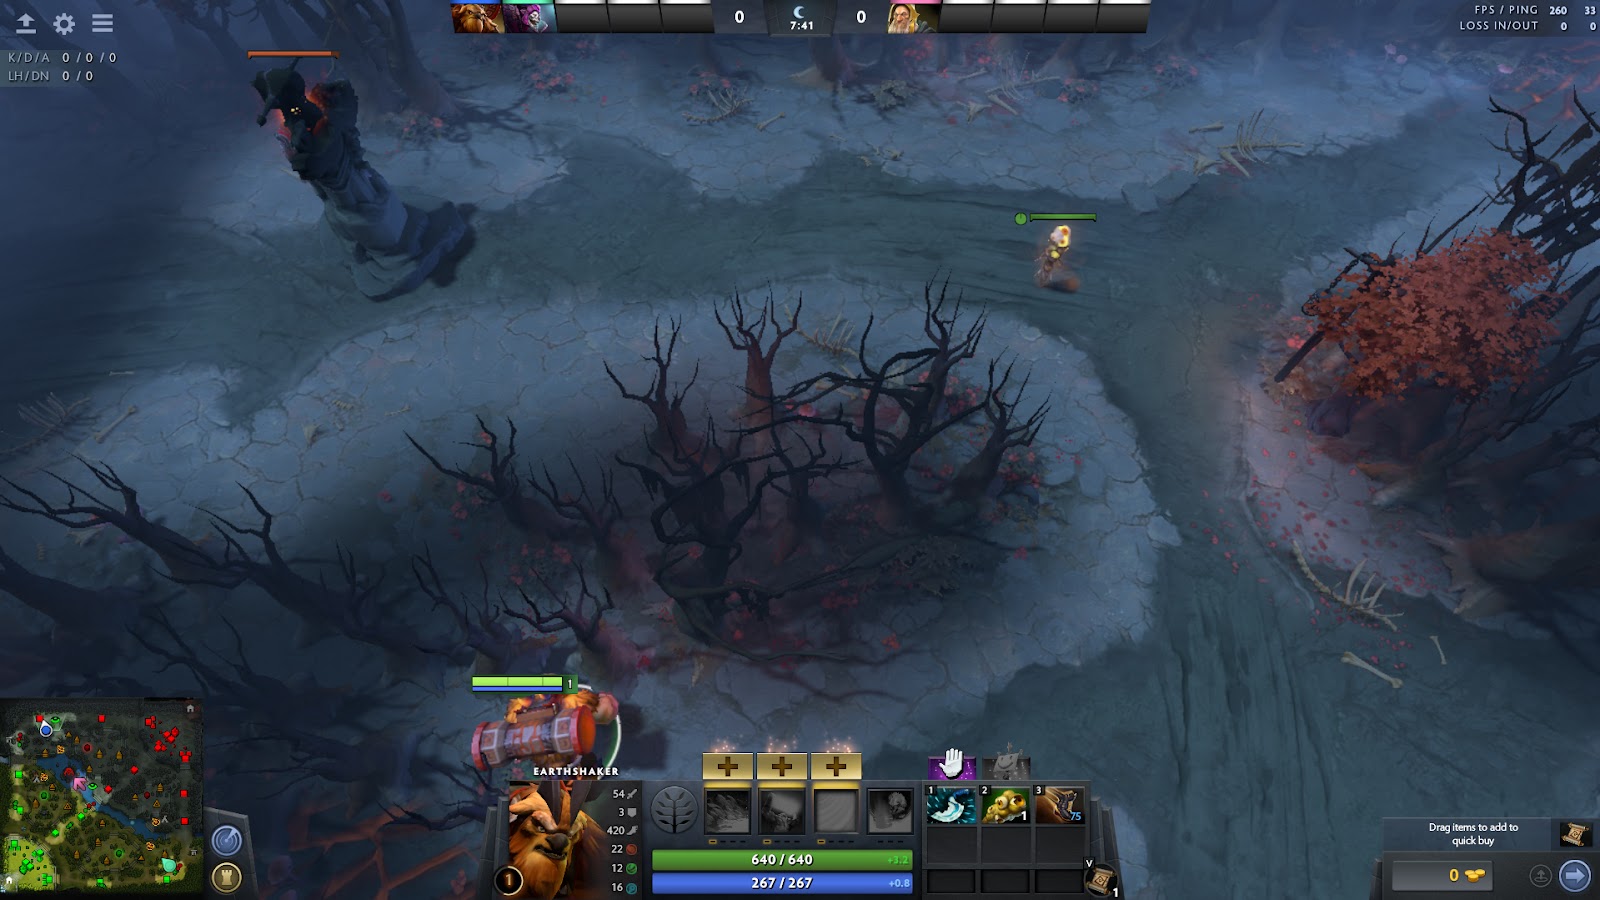
Lack of useful map movement is one of the main mistakes made by low and middle-level supporters. The fact is that bad movement is tantamount to bad security. Why? Because it is difficult to place efficiently a useful observer if you don’t move on the map. These are the movements that begin in the first place, so it is extremely important to effectively place totems on the map. Make sure the enemy heroes have no chance to make an unexpected attack.
It is best to get two observers before dark. With the advent of the fifth minute you will need to control Runes Bounty, and then use the limited vision of the heroes at night to turn to the center line and place the totem there.
When placing these wards, remember that the support of the enemy has the same goals. If possible, buy sentry and check similar points, as well as other popular stations.
Defensive spells ‒ your important targets in the game
After the completion of the phase of “lininga” your team should focus on bypassing key targets, such as towers and runes reward.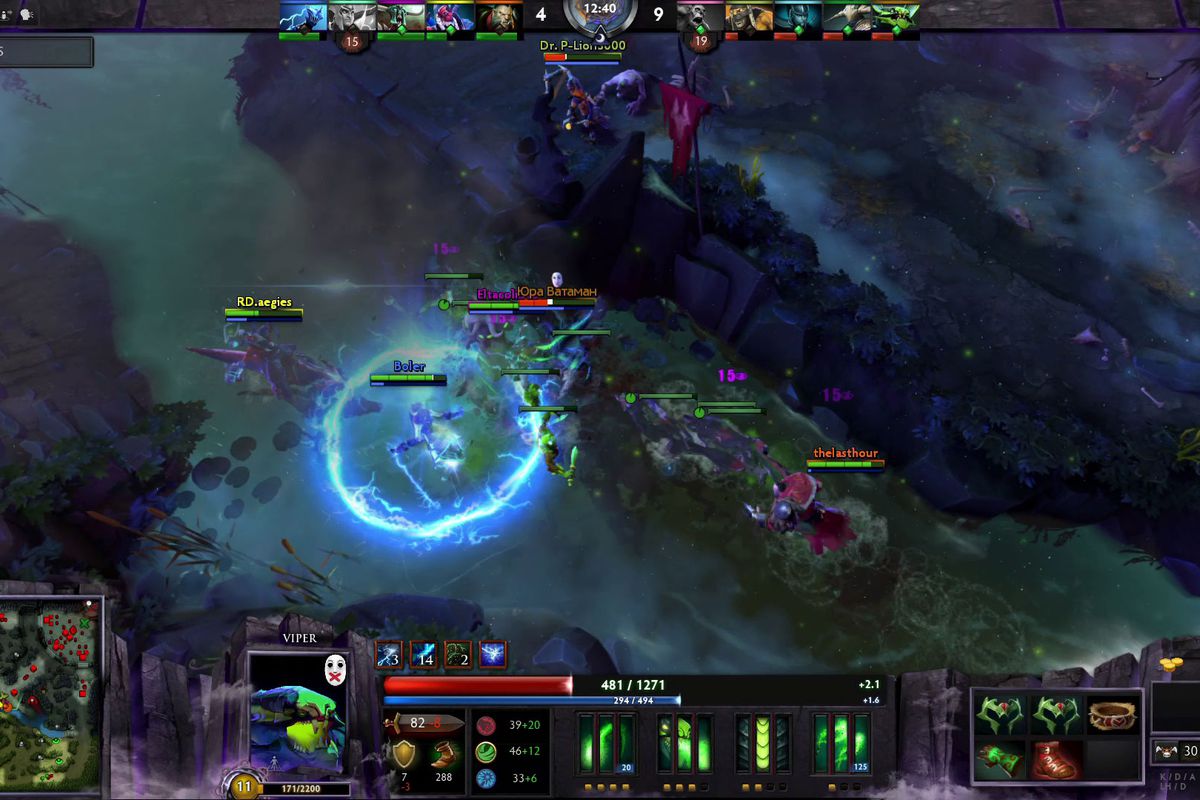
Try to pass by the warships to make it easier to besiege the towers.
Note that there are many ways to configure the stations. This just requires some creativity.
Another last tip to reflect this: if your middle line encounters a fat and smelly hero such as a puja, your middle line will be grateful for the station tuned up as shown below. This allows the center line to see when the guy decides to throw a hook at him.